Partners

Newsletter Sign-up


Lovely Sponsors


Currently Obsessed

Subscribe

Lovely Press

Disclaimer

From time to time Creature Comforts may include affiliate links to products featured in their posts and/or affiliate banner ads. However posts and featured products seen on Creature Comforts are never controlled or selected by advertisers or affiliates. Featured items are products that we personally like, and would share regardless of affiliate partnerships. If you choose to purchase an item that has been featured from an affiliate link or ad banner, we may receive a small commission on that sale.

Privacy Policy
Hosted by

Entries from June 1, 2011 - June 30, 2011

Thursday
Jun232011

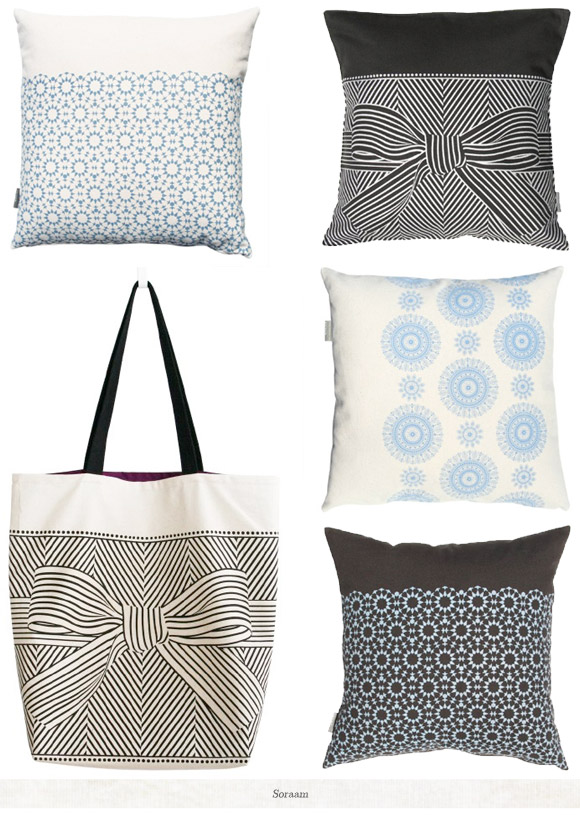
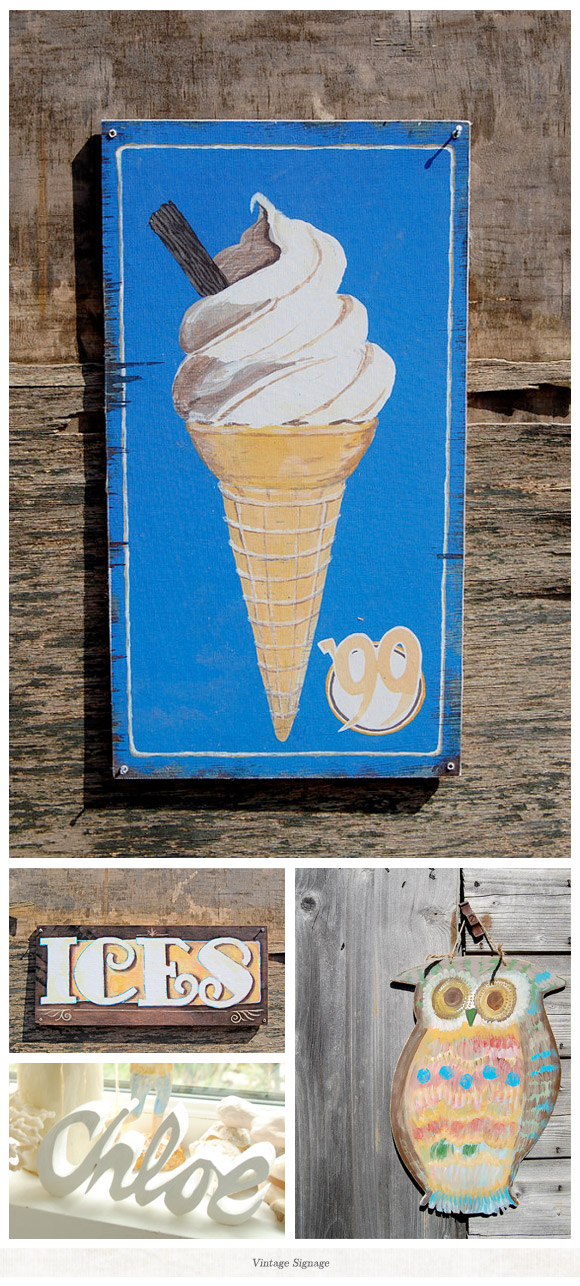
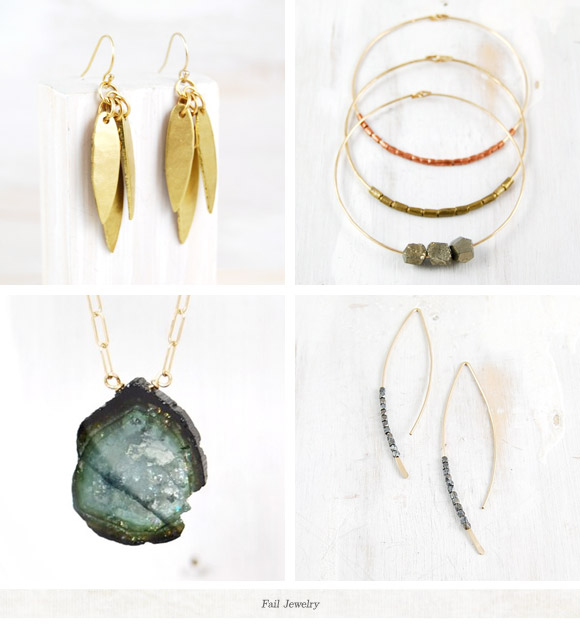
Three New-to-Me Handmade Home + Style Lines

Hi sweets! Today I'm loving these three awesome new-to-me home and style lines. I've been bookmarking pieces from their collections like a madwoman this week:

Fail Jewelry: Beautiful contemporary handcrafted jewelry.


Soraam: Handmade cushion covers, tea towels and other home and personal textiles.

Vintage Signage: Vintage-inspired painted and cut wooden decorative signs.

Thursday
Jun232011

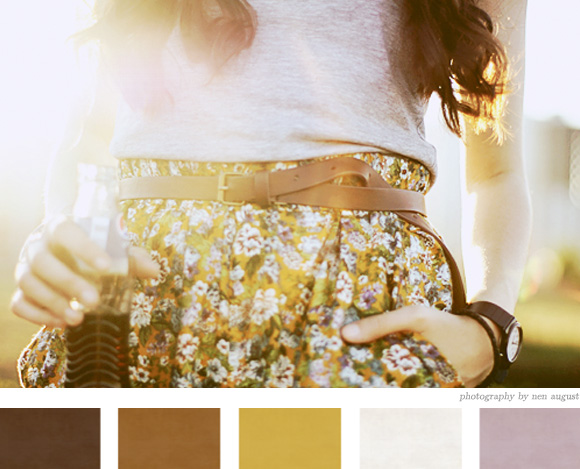
Inspiration Daily: 06. 23. 11

Untitled photograph by Nen August. Flickr | Tumblr

Wednesday
Jun222011

5 Minute DIY: Fabric Stickers

Hi guys! Sorry my post is so late today. I was sitting at my desk earlier this morning feeling rather blah and not sure what to write about when suddenly this project popped into my head. I instantly jumped up to test it out and see if it would be post-worthy. Fortunately I think the results turned out to be really charming, and I hope you'll enjoy this incredibly easy and fun 5 Minute DIY: Fabric Stickers.

I've demonstrated the entire process for you in this quick video. If you'd prefer written instructions you can follow along with that version below (there are no step-by-step images however):

Supplies needed:

  • Fabric scraps | Medium-weight cotton fabrics such as linen, will work best.
  • Sharp scissors | You will not want to use your best pair or they may get adhesive on them.
  • Xyron sticker maker with permanent adhesive roll | These are available for a very reasonable price at most craft stores. I used the smallest version (1.5"), but they also come in larger sizes if you are interested in making bigger stickers.
  • (optional) pre-wrapped gifts | Mine were wrapped in freezer paper and kraft gift wrap, and tied with baker's twine.
  • (optional) blank greeting cards | I just used folded kraft cardstock

Directions for fabric sticker seals:
    1.    Cut fabric into small squares or rectangles that fit into the opening of your sticker maker.
    2.    With right side up, insert one cut portion at a time into the machine. Guide in until you see that it is touching the adhesive roll.
    3.    On the opposite side of the machine, begin slowly pulling down on the adhesive strip. This should catch and begin to pull your fabric through, but if it doesn't you can use a finger to help guide the fabric through as you pull down gently on the adhesive strip.
    4.    Once your fabric portion is fully visible again, tear your sticker along the serrated edge. There will now be a paper backing, and transparent plastic sheet over your fabric.
    5.    Use your fingernail or handle of your scissors and firmly rub the entire surface of your sticker. This will help it to adhere fully.
    6.    Use your scissors to cut out desired shapes (Be sure to cut through the plastic, fabric and paper layers). You can stick with a simple design, like a circle, or get creative by cutting hearts, flowers, and more.
    7.    Once your shape is cut out, remove the clear plastic portion. Your sticker is now complete and is safely secured to the paper backing (this means you don't have to use it right away- you can make lots and store them until you are ready to use them).
    8.    When ready to use, peel the paper backing from your sticker and attach to your gift.


Directions for fabric sticker greeting card:
    1.    Follow the exact same steps above, beginning with a rectangle of fabric (not a square).
    2.    Once you've put your shape through the machine cut rectangle in half so you have two long strips.
    3.    Cut a V out of the bottom of each.
    4.    Attach to your card like a flag garland, or layer underneath circle seals to create an "award."


Have fun! I'd love to see what you make with these! Maybe you could stamp on them, attach them to home decor items, glass jars, etc. There are so many possibilities! xo Ez

Sources: Baker's Twine - My large spool is from We Sell Coffee | Freezer paper from the grocery store| Kraft gift wrap from my local craft store | A2 Envelopes in Bluebell from Paper Source | Xryon Sticker Maker also from the craft store. You can find it here too | Kraft Cardstock from the craft store. Also available here.

Update: Find Fabric Stickers Part II right here.

Wednesday
Jun222011

Today I Love: Mina Javid Headboard Wall Stickers

Hello fabulous! This Wrought Iron Headboard Wall Sticker by Mina Javid is the perfect solution for small living spaces or rentals. Just peel the design and stick it to the wall behind your previously oh-so-bland bed (it's probably a bit more tricky than that...but not as hard a building an actual headboard, right)! Instant bedroom makeover! Love it! Available for purchase at Blik. See all four of Mina Javid's headboard wall sticker designs here. Psst...you can also visit Mina on her personl website right here.

Wednesday
Jun222011

In Search of the Golden Hour

Hello bloggy friends! Today I thought I'd share a few photos that I took on my way home from an evening spent out with my family yesterday.

One thing you should know about me is that I really can't function with the hot, humid weather (or cold, damp weather). As a matter of fact I've been known to describe myself as temperature intolerant (I sound like a whole lot of fun, don't I). Anyhow...I could possibly bear the miserable Oklahoma Summertime heat with almost silence if it were not for the fact that it literally traps me indoors for months on end. I usually wait to dash out to the grocery store in the evening when it's a more doable degree outside, like 94...just kidding, it's still miserable at 94. If I do brave an outing in the heat of the day, I always end up home with a migrane, ruing the day.

Needless to say, all this heat and being a shut-in tends to put a damper on outdoor photo taking (as in, I cannot go outside for fear of combustion). From the months of May-September then November-March I truly pine for the golden hour* that I am either too roasting or too frozen to enjoy.

*That magical time of golden-hued light found in the early morning and evening hours that makes photo taking all the more spectacular.

Anyhow...I'm writing out all of this (very long story) so that I can share my glee with you...I got to bask in one such lovely Golden Hour yesterday. Woohoo! The temperature was a reasonable 82ºF (still hot...but not bad compared to normal) and there was a soft breeze dancing by and keeping me cool-ish.


I could have stood by the roadside and taken a thousand and one photos if only I didn't have over an hour-long car ride home ahead of me, and a sleepy 12-year old mewling at me to "Please come onnnn and get back in the carrrr Mooommmm." Anyhow...this one perfect moment ought to hold me for another month of not-so-perfect. Hooray! xo Ez

All photos by Ez Pudewa (me). Also, I want to note that I've been trying to wean myself off of Photoshop dependency, so I'm forcing myself to upload my unadulterated photos (flaws and all - all I've done is crop a few of them). It's a good practice for me in letting things go, and not fixating on the small things that really don't matter.
Page 1 ... 2 3 4 5 6 ... 13 Next 5 Entries »
Related Posts Plugin for WordPress, Blogger...