Quick Gift Idea: DIY Glitter Clothespins & Gift Bag

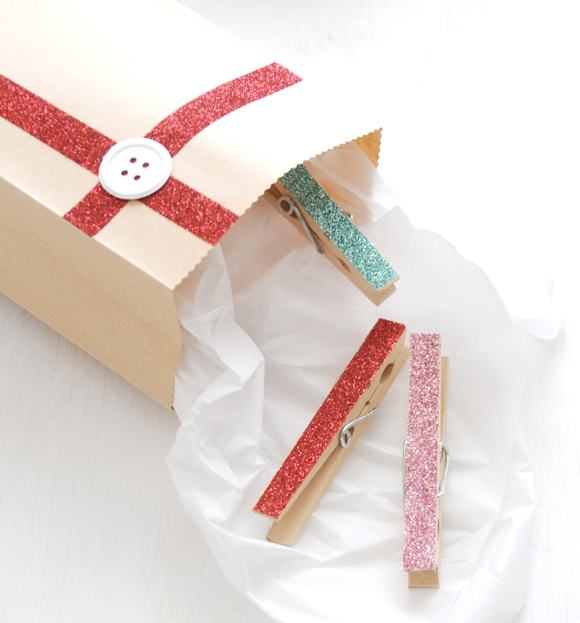
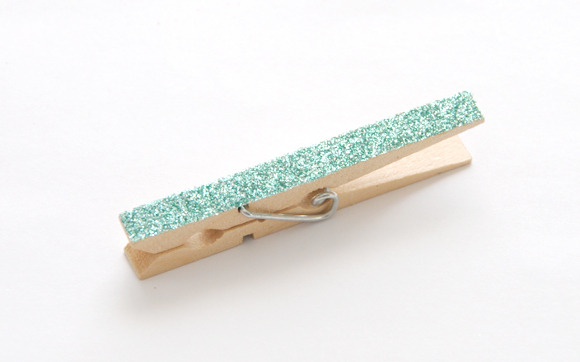
So last week when I was creating my DIY Adorned Glittered Clothespin Gift Toppers for the Martha Stewart Crafts Dept. Gift Wrapping Challenge, I realized something. After the glittering step, and before the adorning step, you have a great little gift on your hands. Small clothespins (or even large ones) are perfect for hanging images onto an inspiration wire...and with mini magnets super glued to the backs you have instant fridge clips. Package sets up inside little paper bags, and you have sweet presents to hand out to your coworkers, children's teachers, favorite librarian, etc.

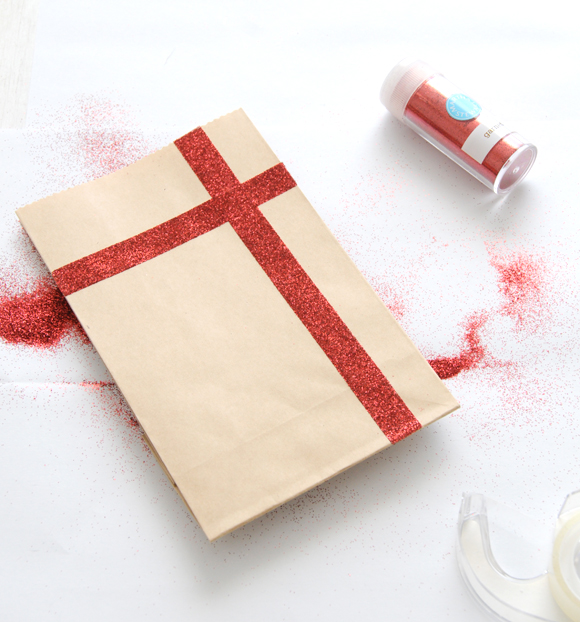
To create the clothespins, pop on over to The Crafts Dept. for my easy-peasy tutorial (just stop once you finish the glittering step). Then make a festive bag by adhering strips of double sided tape in any pattern that you like to a plain paper bag (available in Target or craft supply stores).

Place your taped bag onto a piece of scrap paper and heavily sprinkle the tape with fine glitter (any color you like). Tap excess off. If you'd like you can add a paper button (like I did above), glue on a real button or fabric flower, stick on a gift tag, etc. Finish the whole thing by wrapping the glittered pins inside a piece of tissue paper and placing them inside the bag. Voila! A charming handmade gift that is both easy and affordable. xo Ez
Supplies used:
- Martha Stewart Glitter | Michael's Craft Store
- Kraft Paper Bag | Michael's Craft Store
- Double-sided Tape | Target
- Scissors
- Wooden Clothespins | Large pins from Target / small pins available at Michael's
- Martha Stewart Button Craft Punch | Michael's
- Tissue Paper | Target
 8 Lovely Comments |
  Email Article | found in
  D.I.Y. + Projects,
  Gift Giving / Wrapping Ideas,
  Holiday Inspiration/Projects
  Print Article | |
  | by
| by  Ez
Ez  Tuesday, December 13, 2011


Reader Comments (8)
Lovely! Slap anything with glitter on it and I'm a happy girl
So adorable! Really love the idea of glittering double sided tape. Even a crafts dope like me can do that. :)
Ez, your DIY tutorials are always so elegant but easy to execute. I'm in awe! Your post on The Crafts Department looks great.
how fun! these photos are amazing!!
I love this, so simple but so beautiful! I'd love you to add this to my What we Wore and Made party over at http://raegunwear.blogspot.com/search/label/WWWMW
This is the cutest idea yet! It never would have occurred to me that clothespins could add so much to make wrapping fun and interesting. I have a ton of clothespins leftover from when I used them as decoration at my wedding. I think this will be the perfect way to use them up!
Super cute project! Just curious about the optional clear nailpolish you listed in ingredients. It wasn't mentioned in instructions, is it for sealing in the glitter?
Hi Christy! Great question. Yes, the clear polish would be used to seal the glitter on the clothespins if you want to make it more permanent. Just brush on a thin coat and let it dry. It will probably take a day until the smell dies down (good to keep in mind if you are making a set as a gift). xo Ez