


DIY Coffee Filter Pom Pom Decor + Gift Topper
This past Summer when I began working on projects for Gifted Magazine I discovered that coffee filters are an awesome multi-purpose crafting supply (I guess I kind of already suspected as much, but anyhow). As with a lot of the projects I make, I start with a simple object (such as coffee filters) and just begin messing around with it until it starts to become something. Usually this results in a giant pile of not-so-cute, destined for the graveyard of d.i.y. fails. But every once in a while something takes shape that I like. Martha Stewart has busted out countless projects using cupcake liners (like these Hanging Ball Decorations and Cupcake Paper Carnation Gift Toppers), and coffee filters seemed just like giant cupcake liners to me (therefore just as easy to use). I ended up folding, punching and stacking a bunch together and created a fun Hanging Pom Pom (perfect for party decor) and a Ruffled Gift Topper (you can also use it as wall decor - see the last image). Have fun! xo Ez
Here's how to make 'em:
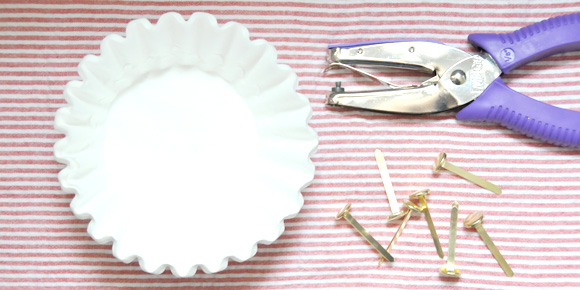 Supplies: Coffee filters in either natural or white (12-18 per topper | 24-32 per hanging pom pom), Large metal brads a.k.a. brass fasteners (I purchased mine at Office Depot), 1/8" Hole Punch Tool, twine (optional), ornament or small object for center of gift topper (optional).
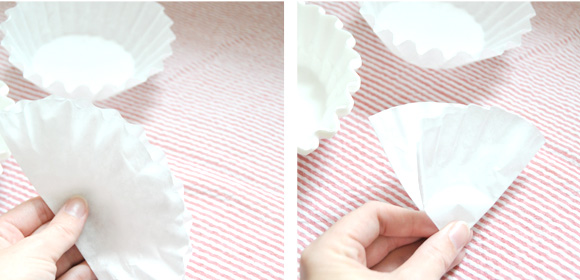 Step 1: Fold filters (one at a time) in half.
Step 2: Fold in half again (repeat for all).
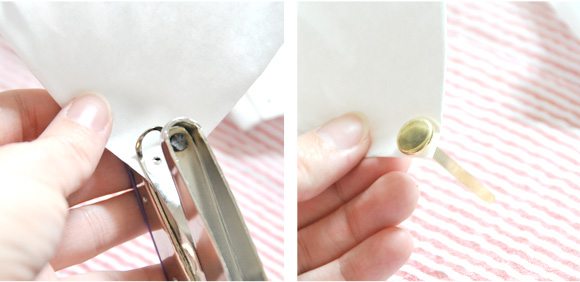 Step 3: Punch a hole in the corner of each folded filter.
Step 4: Insert your brad through the punched hole.
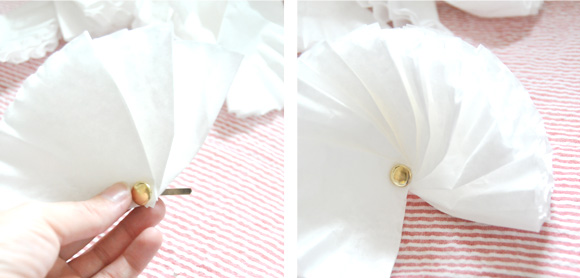 Step 5: Add prepared filters to the brad - stacking behind your first filter. Take care to keep the folded edge of your filters facing the same direction.
Step 6: As you add filters onto your brad you will begin to fan each one out. Don't worry about it looking perfect at this point.
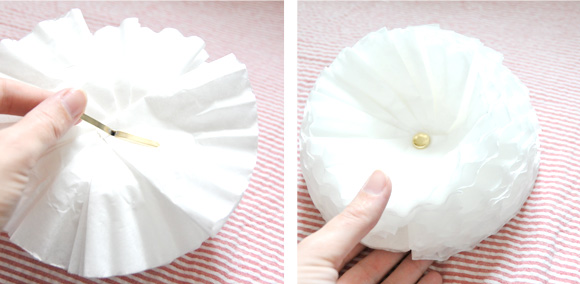 Step 7: Once your brad is full, turn over and open the brad to secure.
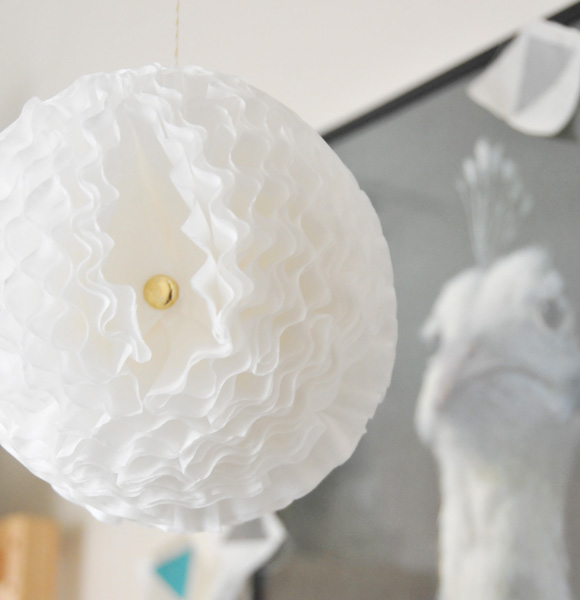
Step 8: Move the filters around (they will rotate fairly easily) until the desired shape/fullness is achieved. If you will be using as a gift topper (or whatever other use you dream up) you can stop at this point.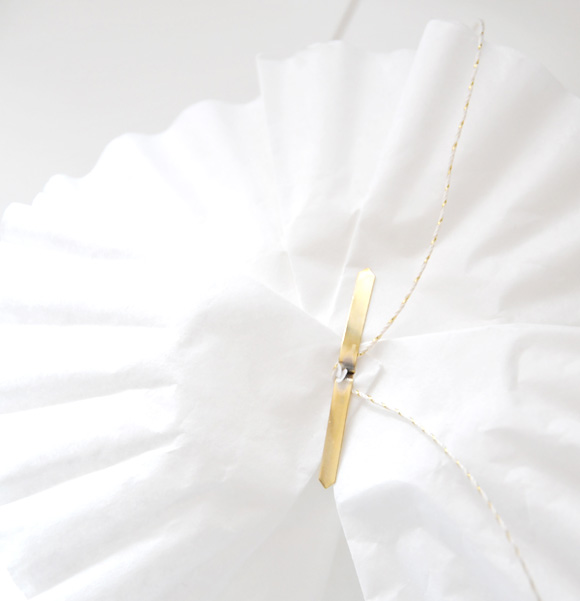 If you would like to make a round pom pom (like the hanging one shown above) you will attach two completed filter pom poms together on the back using a piece of twine or hot glue. Hang with twine.
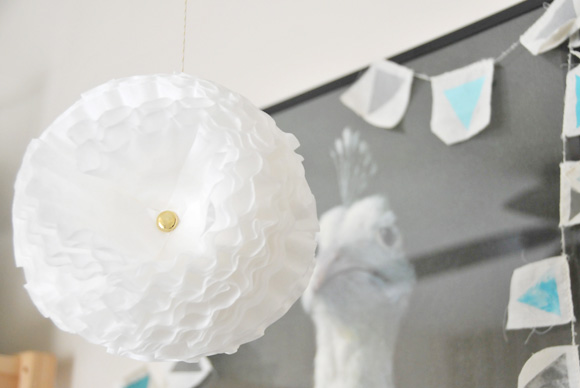 Hang two together to make some fab hanging decor. Perfect for your next party.
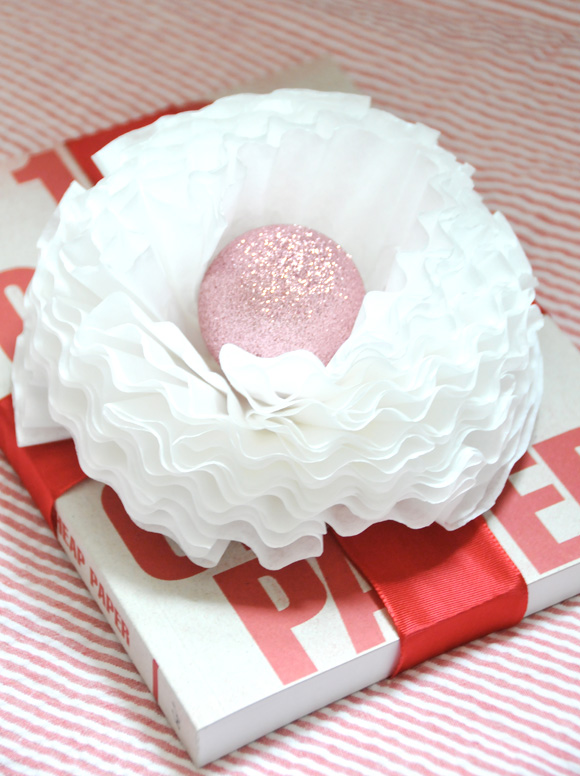
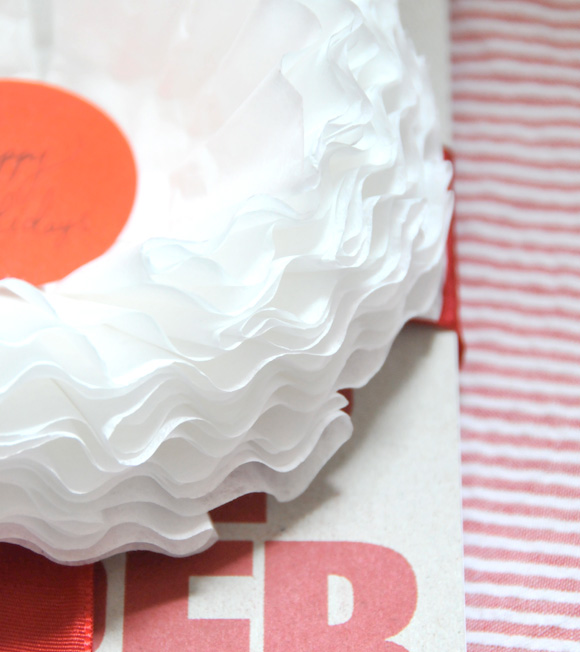 Dress up the middle of your gift topper with an ornament (seen in the first image) or a pretty disk of paper printed with a special message or addressed to the lucky gift recipient.
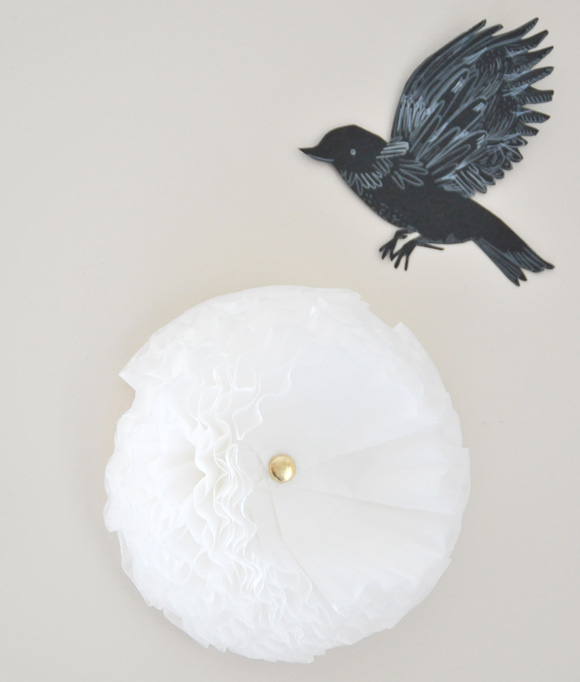 Hang one (or a cluster) on your wall with a little tape or Adhesive Putty.
Credits: 100 Girls on Cheap Paper by Tina Berning, Fowl with Pearls Print by Michael Sowa, Bunting by Marichelle, Paper Bird by Astulabee.
 32 Lovely Comments | Email Article | found in D.I.Y. + Projects, Holiday Inspiration/Projects, Tutorials, Weddings + Events Print Article | Share This |
  | by Ez
Reader Comments (32)
Sou do Brasil e adorei este site. Linda idea. Parabéns!!!!!!
I WANT the framed bird-art you seem to have hanging behind the filter flower!!! PLEASE tell me where you bought it! PLEEEEEEEEAAAAASSSSSE?
I love this idea. I do something similar but place battery-powered tea lights inside the 'flower' to decorate a table or sideboard.
Beautiful flower, this is great tutorial. thanks for sharing.
Just made some, thanks for sharing.
Just came across your blog via Pinterest and it's wonderful! Quick question - I only have a standard 1/4" hole punch. Will that work okay? I don't want to buy something new if I don't have to. :)
Thanks!
Love this! It's pretty and best of all, quick and easy.