


DIY: Simple Neighborly Clay House Ornament Gifts
Hi friends! I'm back for my second neighborly-inspired project (here is my first one), in partnership with Vivint and their blog The Neighborhood.
But first before we dive into this fun project I want to quickly remind you all that today is the final day to enter for your chance to win a free admission ticket to attend Alt Summit 2013. Jump on over and enter...you can submit as many entries as you'd like to increase your chances. I hope I'll be seeing you there!
Okay, now on to the house-making!
;)
This project is pretty simple to create. You could easily make an entire neighborhood of houses without too much effort.
Tip: I recommend storing your extra clay in an air-tight container while you work so that it doesn't dry out and you can use it again for other projects (such as my DIY Lollipop Ornaments, Scandinavian Inspired Star Garland, Nursery Mobile / Wall Hanging, or Easy Geometric Gem Mobile). Can you tell that I like this type of clay?!
Supplies needed:
- House + Flag Template - Download using the button below | printed onto heavy-weight paper
- Premier Stone Clay by LaDoll - available at craft stores such as Michael's or online | You can also use oven-bake clay for this project if you'd prefer (although I don't cover the baking step in this tutorial)
- Craft knife
- Craft scissors
- Twine | I recommend something that is sturdy but not overly thick
- Freezer paper or waxed paper to protect your work area
- Rolling pin (I use a non-stick version. I'm not sure how a standard one will work)
- Glue | I highly recommend Aleen's Original Tacky Glue for this project (found at craft stores)
- Bamboo skewer
Optional items for customization:
- Fine glitter | I used Martha Stewart's glitter in "white gold" (purchased at Michael's)
- Paintbrush
- Tiny star-shaped cookie cutter | You can usually find these sold in a set in the baking isle of craft stores

;)
Tip: You can see the tutorial steps at an enlerged size by clicking on each image.
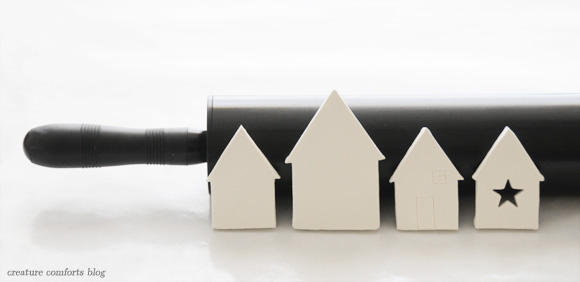
Cut out the house template you'd like to use (there are two size options available on the printable file), then begin by protecting your work surface with a piece of freezer paper (waxed side up) or waxed paper. Take a golf ball sized portion of clay (or larger if needed) and begin rolling it out using your rolling pin. Make sure that the flattened shape is is both wide and long enough to fit the house template you will be using. The finished thickness of your rolled clay should be about 1/4."
;)
Place your template on top of your prepared clay and use the tip of your craft knife to lightly trace around the outer edges of your template. The goal is not to cut all the way through the clay, but to give yourself a guide for the next step. Once you've traced your house shape with your blade, begin cutting out your house. This is best accomplished by cutting straight lines all the way along each flat edge until your blade passes through the edge of your clay. This will remove clay in smaller sections and will give you the cleanest edges on your house. Tip: If you are worried about cutting into your work surface, I recommend working on top of a cutting board or self-healing mat.
;)
Use your finger to smooth out any roughness on the edges or surface of your house. It can sometimes help to add a dab of water to your fingertip during the smoothing step. Once your shape is nice and smooth, use the sharp end of a skewer to press a hole into the center of the top point of of your house. The impression doesn't need to be too deep. This is where you will be gluing your twine for hanging.
;)
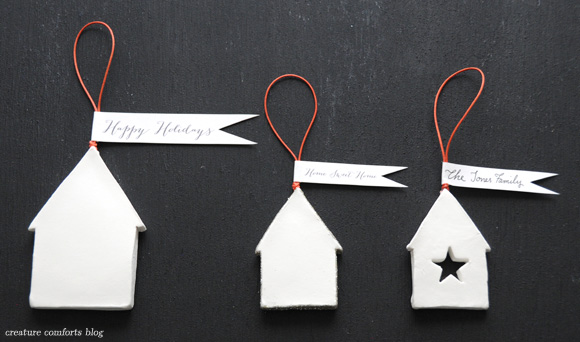
While the clay is wet you may wish to add additional decorative touches to your house. In the first example I used my craft knife to very gently create the outline of a door and window. In the second, I used a small star cookie cutter to punch a design out of the center. If you would like to glitter your ornament, you will need to wait until the design is dry to do so (keep reading below).
Cut out as many house shapes as you'd like to make and lean them gently against a surface to air-dry. The drying process takes several hours, but I recommend letting them dry overnight for best results. If you are able to rotate the shapes half-way through the drying process so that the more damp side is facing out, they will dry more quickly.
;)
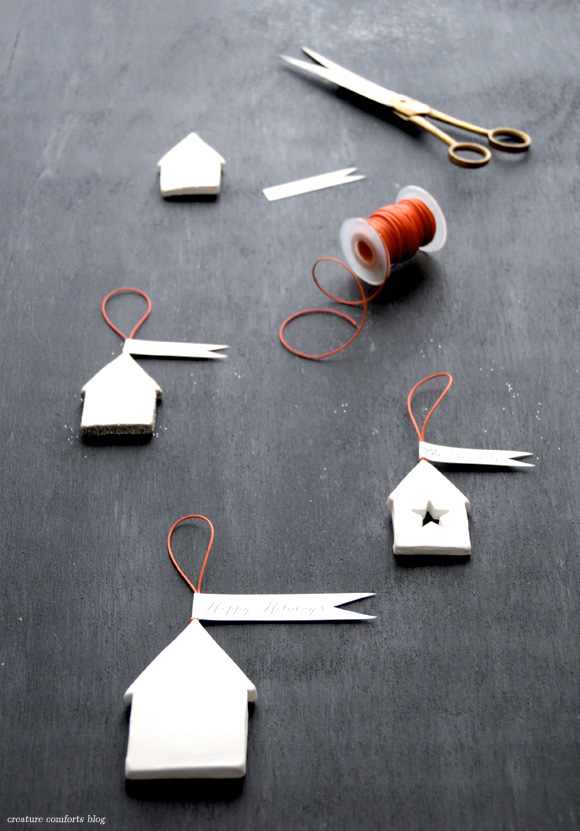
Once your houses are dry you can use them as is, or embellish with glitter. To glitter the edges of your dry house like I have here, apply glue along the edges using a paintbrush. Sprinkle glued area generously with glitter. I recommend working over a piece of scrap paper to make clean up easy, and so you can reserve the excess glitter. Tap your ornament to remove excess glitter and allow the glue/glitter to dry. Next, cut out the pennant flags that you'd like to use on your house. Blank tags are included incase you'd like to write your own message. Leave at least 1/4" of blank space on the flat side of the tag if you are writing your own message.
;)
Create a loop for hanging. Select the length of twine you'd like and tie the two ends together. Be sure to leave a small tail of twine beneath your knot. This will come in handy when attaching it to your ornament. If you'll be including a paper flag, apply a small amount of glue to the backside edge (the side without the message) of the paper. Sandwich the bottom of the loop inside the end of the flag, folding over just enough of the paper so that it seals around the twine. Press firmly for a few seconds to make sure that it adheres. Allow glue to set.
;)
Once your tag is dry, apply a small bead of glue into the hole that you made at the top of your house ornament. Take your twine loop and place the ends into the hole until they are embedded and glued in place. Make sure your flag is facing the right direction (rotate the loop as needed to adjust). Allow the glue to fully dry.
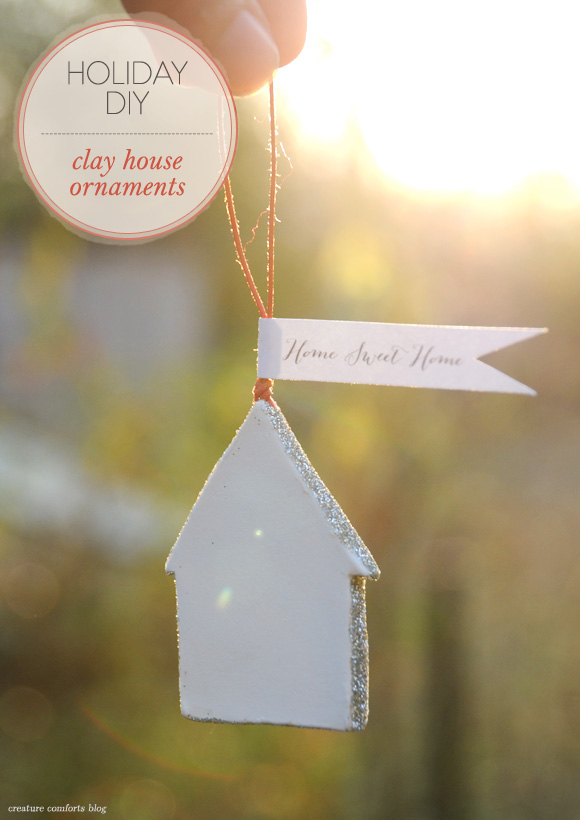
Give your beautiful handmade ornaments as gifts to your neighbors and loved ones. Bonus: these ornaments would also make a thoughtful housewarming gift at any time of the year. An ornament flying the "Home Sweet Home" flag would look lovely hung in an entryway all year 'round!
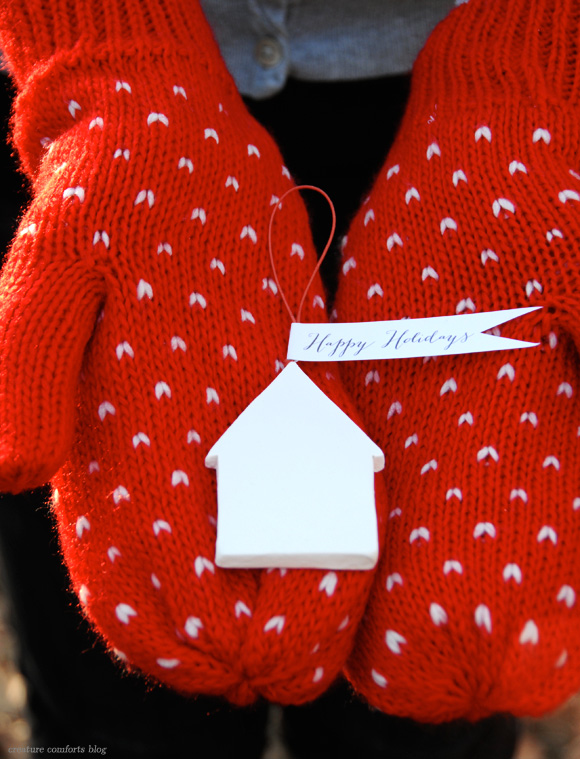
Happy holidays friends! xo Ez
--------
This post was kindly sponsored by Vivint. Find more from Vivint at The Neighborhood, Twitter, Facebook, and Pinterest. All images, content, and opinions expressed in this post are my own.
 12 Lovely Comments | Email Article | found in D.I.Y. + Projects, Gift Giving / Wrapping Ideas Print Article | Share This |
  | by Ez
Reader Comments (12)
These are the cutest! They would make really nice personalized gift tags, too. I need to find some of that air-dry clay!
Oh my goodness, Ez! You have done it again with the clay cuteness. I have actually been wanting to make a house ornament of some kind. Love your simple template. These are just perfect!
I think it would be fun to write out the street name and number of the person's new house on the paper flag if the ornament is for a housewarming gift. :) I love having non-holiday ornaments up year-round as little surprises and reminders of things. I am definitely going to make one for my entryway.
I have been playing with polymer clay since elementary school, but you introduced me to the lightweight stone clay when you made the scandinavian inspired star garland, and I have loved it ever since. I can't get over the amazing texture--such a pleasure to work with. Thanks for the inspiration and the great templates! So excited to make these.
So darling! I would make these into gift tags. I saw something similar at Anthro and I have been wanting to make these. I love the idea of the house. I just moved and that would make a really cute little "Hey We've Moved!" ornament for family.
Ez - thank you so much for sharing this. I just scrapped all my other plans for making gifts for firends and am doing this instead. Too wonderful for words. I'm so grateful for your talent and willingness to share it with us all. Happy Holidays to you!
Such a cute and simple idea! ach!
what a great idea, they're so cute !
Lovely!
Thanks!
These are so cute! I just finished making your Lollipop Ornaments to use as gift tags this year, and I still have half of the clay left over... this would be a great way to use it up! Thanks for another great DIY idea :)
I LOVE your DIY - they are just so beautiful down to every last detail! happy holidays EZ xo
I LOVE these, but the templates don't seen to be accessible anymore. Any chance you would be able to email them to me? I would appreciate it! Thank you!
I'm not able to access the beautiful patterns. Would you email them to me, too? They are exactly what I've been looking for. Thanks so much!
Yes, why is this page active, but the rest of the blog is removed? I wanted the template as well.