


Popsicle Party Printables + DIY
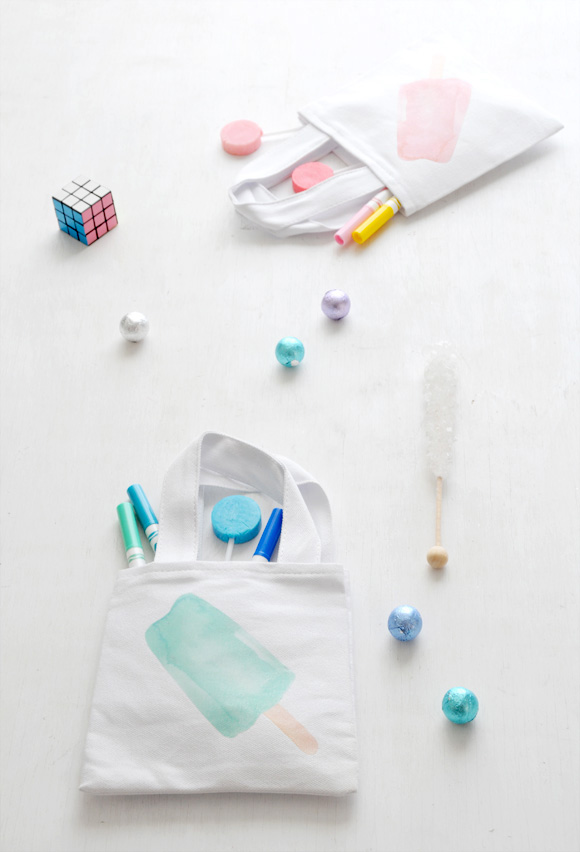
Hi friends! Last year I painted some watercolor popsicles with grand DIY plans in mind for them. Unfortunately the Summer just breezed by and in the end I only managed to arrange them into a couple free Desktop Wallpapers (which you are still welcome to download and enjoy of course). Fortunately popsicles never go out of style and now I've finally gotten around to using them as I intended to all those months ago! Are you ready for a popsicle party (now yesterday's popsicle recipe roundup will come in handy)! Woohoo!
--------------------------------------------------------------------------------------------------------------------
This DIY post was sponsored and made possible by Method..."Clean Happy."
Are you a sweet clementine or are you feisty like sea salt + lime? Take a dishy personality test on Method’s Facebook page to find out your signature fragrance, and enter a sweepstakes to win a year’s supply of Method dish soap at the same time. Residents in the US and Canada (excluding Quebec, désolé!) are eligible to enter once through the Sweepstakes app on Method’s Facebook page. Contest is open until August 6th.
--------------------------------------------------------------------------------------------------------------------
Popsicle Mini Tote Favor Bags: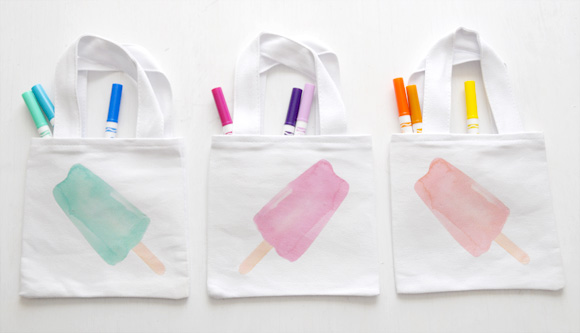
Supplies needed:
- Iron-on transfer paper | Available at office and craft supply stores
- Iron
- Mini cotton tote bags | I purchased these at Michael's Craft Store (they're about $1 a piece)
- Sharp scissors
- Favors (optional) | the items in my bags here are from Michael's and Party City
Get started by printing out your popsicle iron-ons (click on the download button below). If you'll be using a dark colored material behind the design, be sure to purchase transfer paper that is specially designed for dark fabrics.

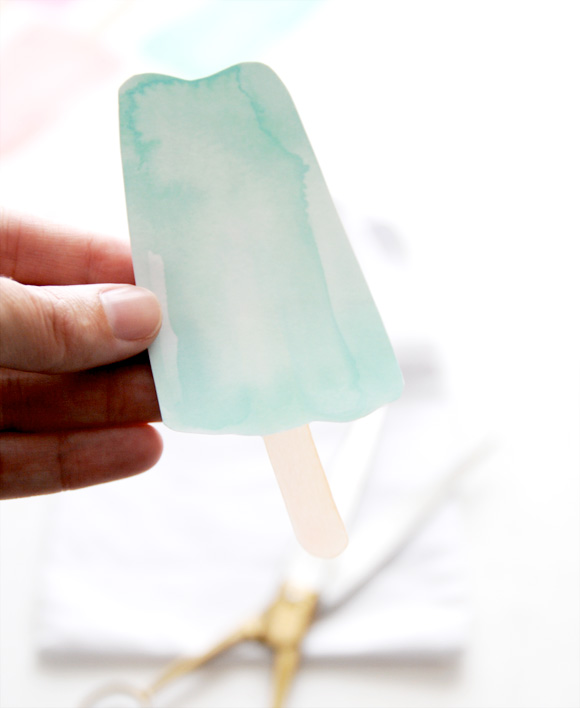 Cut out your popsicle shapes as close to the colored design as you are able.
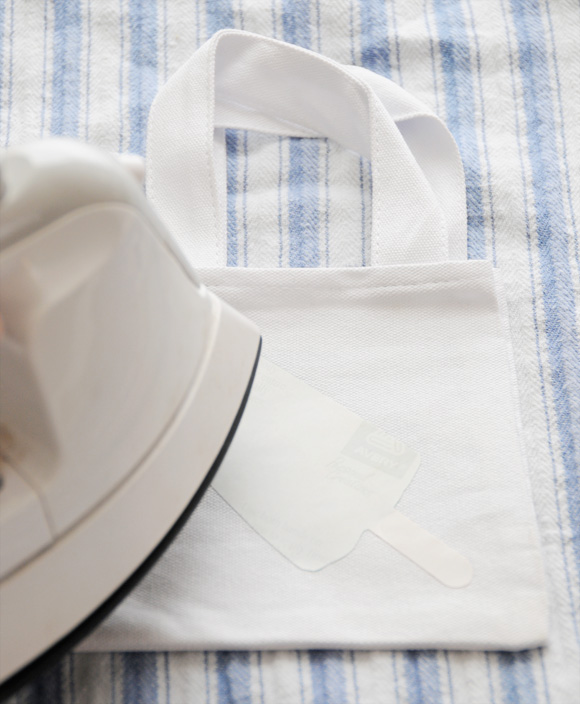 Position your iron-on face down on your fabric unless your transfer paper manufacturer directions state otherwise. Iron according to directions — for mine I used the highest cotton setting (no steam) and ironed with pressure on a hard surface (protected with a cotton cloth) for a couple minutes. Make sure your design fully adheres to the fabric on all edges.
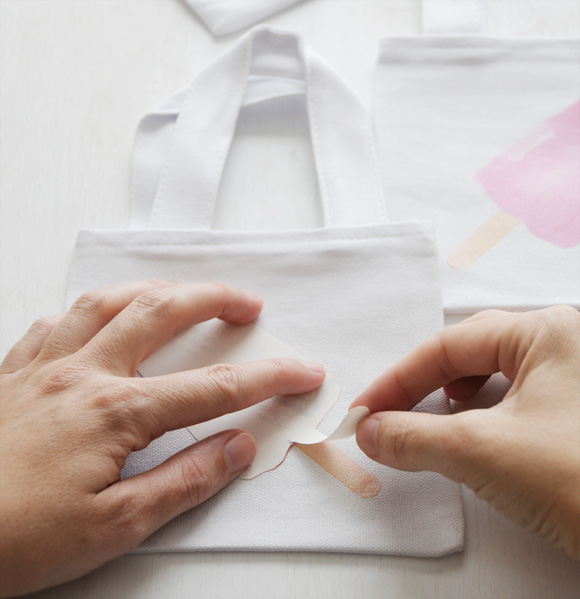 Once the design has cooled to the touch, carefully peel away the paper backing.
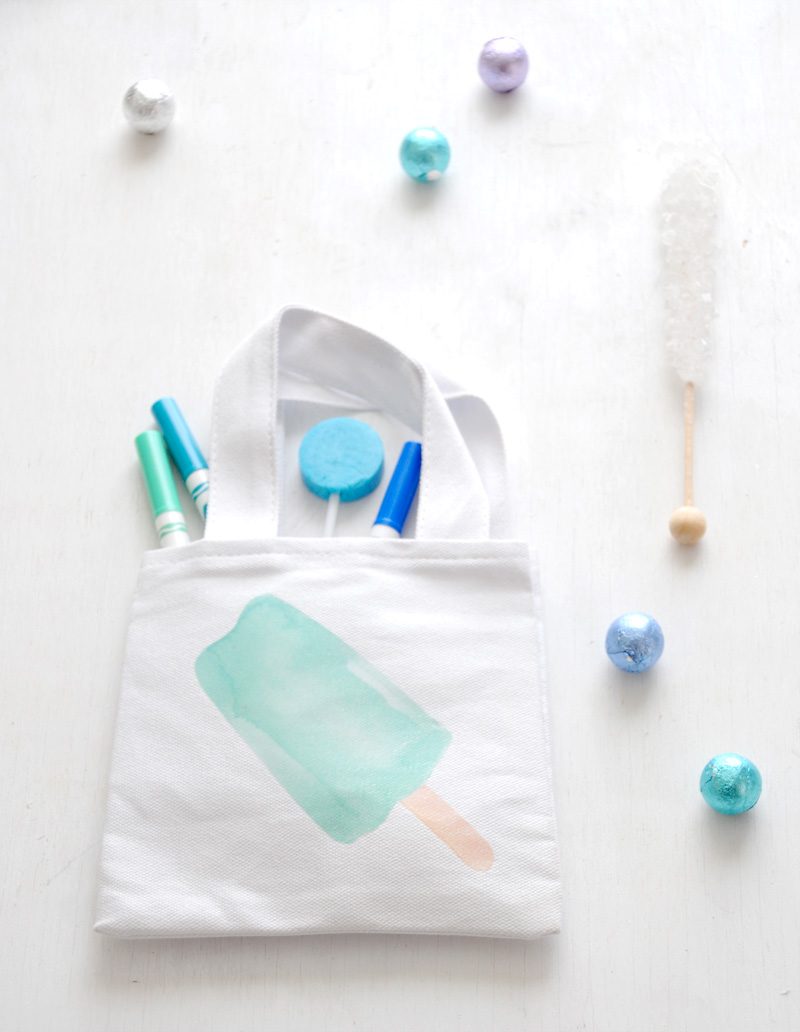 Fill your bags with treats and other favors!
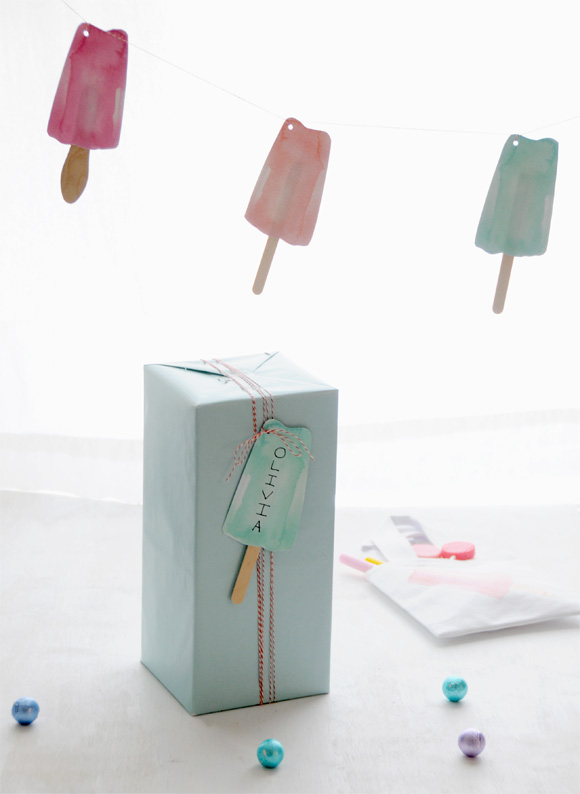
Now it's time to wrap up the gifts and decorate...
Printable Popsicle Gift Tags: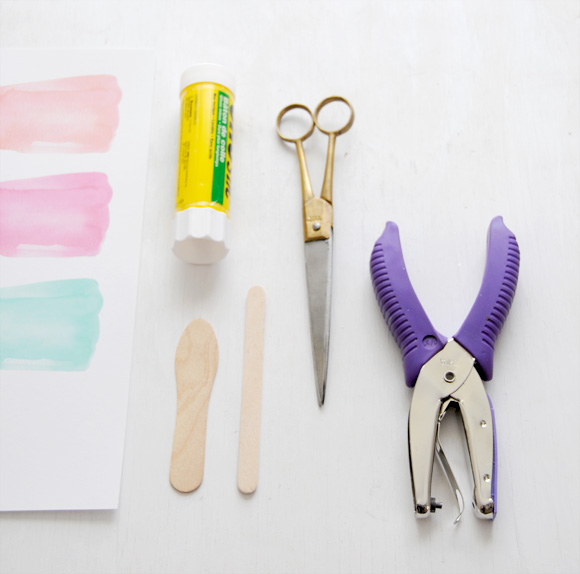

Popsicle Tag Supplies:
- Popsicle tag printable file (download found above)
- Cardstock
- Wooden popsicle sticks | Available at craft supply stores
- Glue stick | I prefer Uhu® Stic
- Scrap paper
- Scissors
- Small hole punch | Found at craft supply stores
- Twine or ribbon
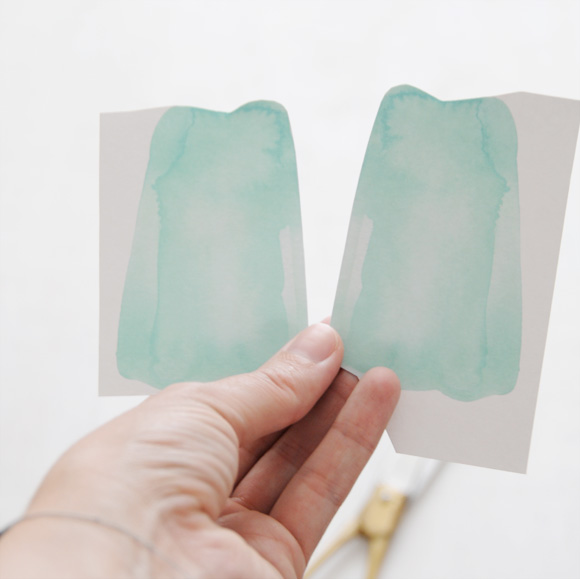 A simple trick to make cutting your popsicle shapes easier is to begin by cutting along one straight edge as well as the top of each paper popsicle. You'll see that the popsicle designs are mirror opposites, so that when two of the same color from the printable are placed back to back, they line up properly with a pretty popsicle design on each side.
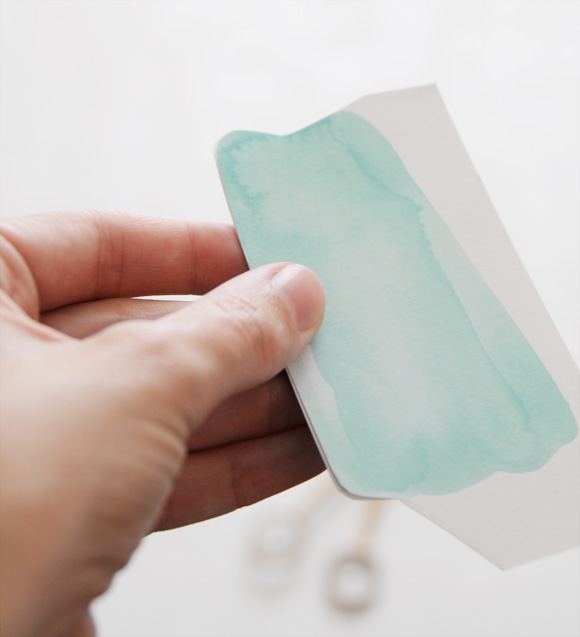 Once you have prepped two popsicles of the same color, place them back-to-back, lining up the cut edges.
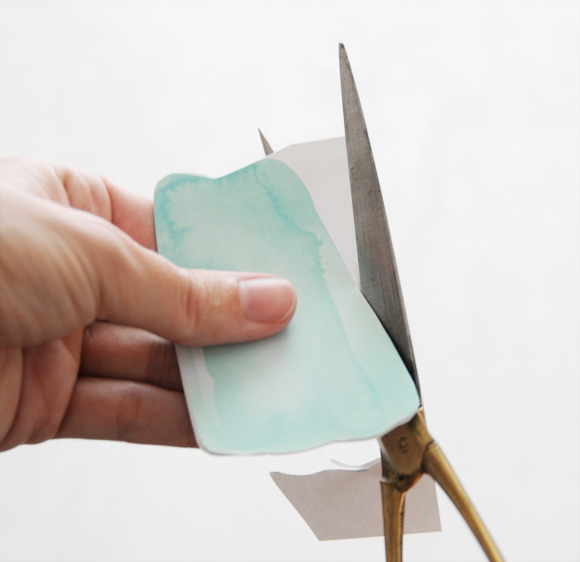 Hold them firmly together so they don't slip and finish cutting out the final sides of the popsicle design - cutting through both pieces of paper until the full popsicle has been cut out.
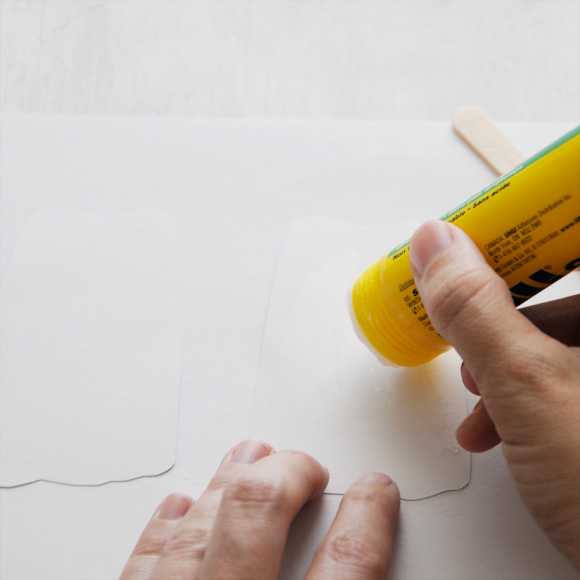 Place your two matching popsicle pieces colored-side down on a piece of scrap paper and use a glue stick to apply a liberal amount of glue. Pay careful attention to the edges.
 Apply a small amount of glue to the top half of a popsicle stick and place it into the center of one of your popsicles leaving about half of the stick laying outside the bottom of the design.
 Place the two glued pieces on top of one another and seal together with the stick inside. Make sure to carefully seal around all outside edges as well as the center.
 Trim any portions that don't line up properly.
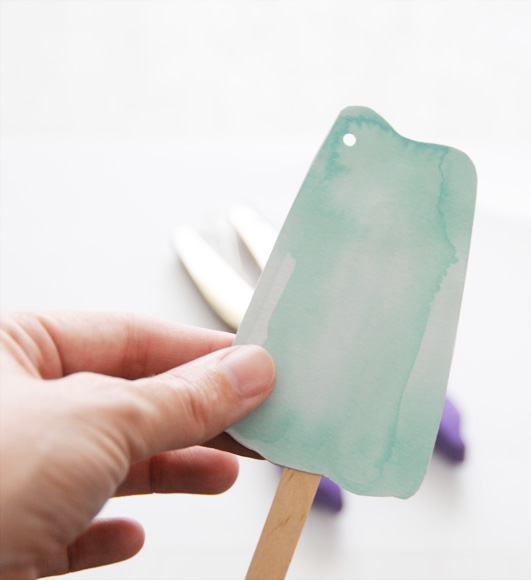 Use a small hole punch to create a hole at the top edge or center of your popsicle tag.
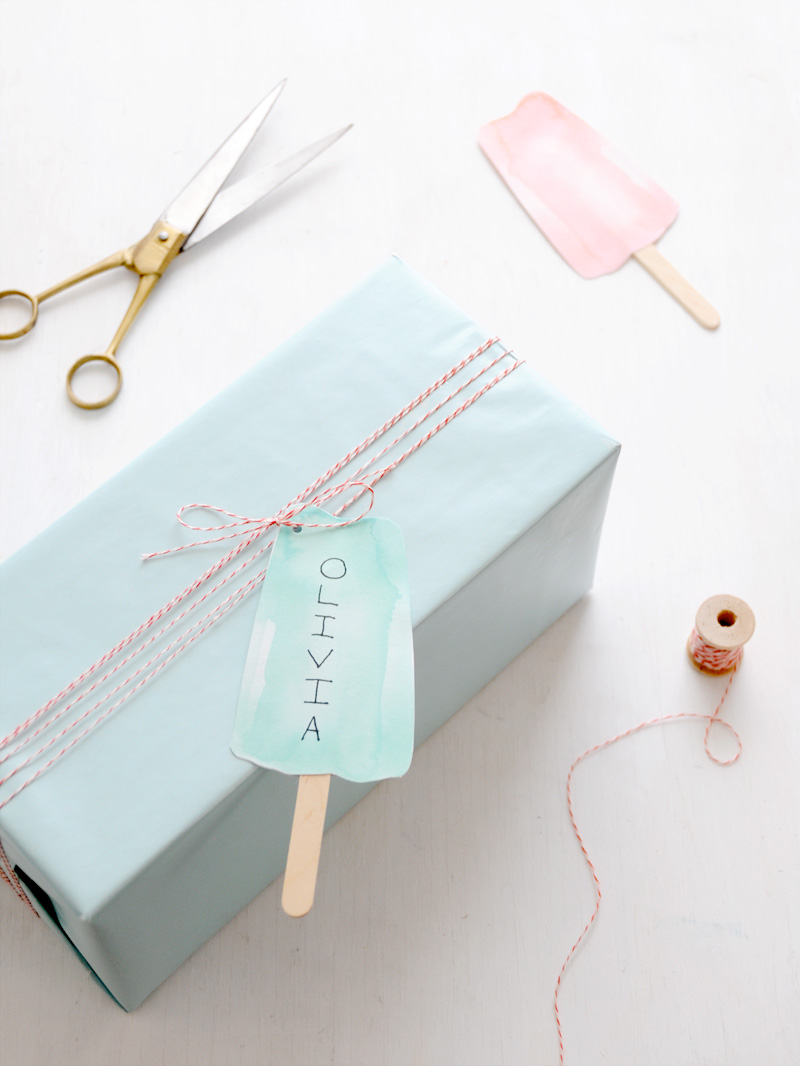
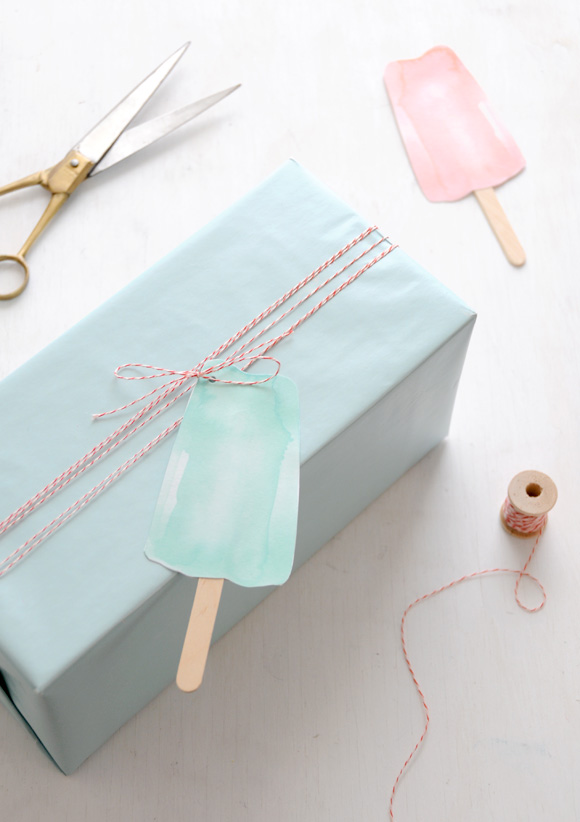 Attach your tag to your gift by threading it onto twine or ribbon. Address to the lucky gift recipient using a pen (optional).
Printable Popsicle Party Garland:
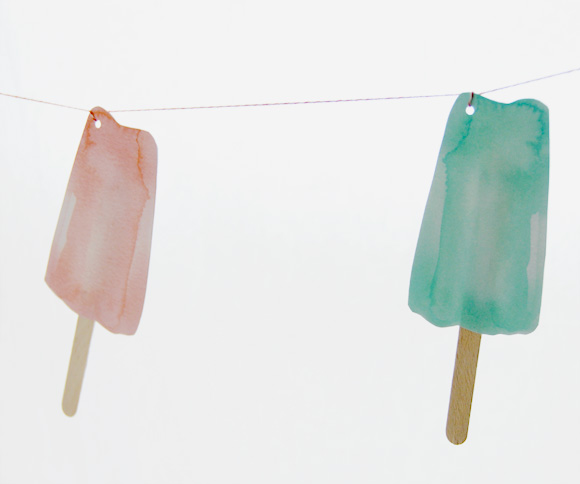 Follow steps above for the Popsicle Gift Tags (using the same supplies as well). Create as many popsicles as you'd like to hang on your garland. Once all your popsicles are ready you can simply string them onto twine one at a time, tying them in place with a simple knot as you go. Once your garland is the length you'd like, hang it up and get ready to party!
Other ways you can use your printables or iron-ons:
- Use the popsicle tags as invites for your party. Hand-write a short invite message on your printed sheet of tags (or get handy with the text tool in photoshop if you feel so inclined), then glue the popsicle stick in place. Place in an envelope and mail!
- Use your iron-on transfers to dress up t-shirts or other cotton material (such as a pillowcase or tea towel). Just be sure to use transfer paper designed for the color you'll be ironing onto (they make transfers for light and dark materials).
- Popsicle tags can serve as placecards. Just write your guests names on each popsicle and arrange them around your table.
- Tags can also serve as a fun cake topper. Try arranging several on the top of a cake (you can write a message on them first if you'd like) or place one in the center of a cupcake. Cute!
--------------------------------------------------------------------------------------------------------------------
Full disclosure: This DIY post was sponsored and made possible by Method. The project and any opinions expressed are my own.
 13 Lovely Comments | Email Article | found in Babies + Kids + Families, D.I.Y. + Projects, Downloads + Printables, Tutorials, Weddings + Events Print Article | Share This |
  | by Ez
Reader Comments (13)
Adorable!! I love this! How perfect for almost any summer occasion where gifting is in order. :) Thanks so much for this DIY and download!
this is an amazing DIY tutorial!! nice and super creative work!
Thanks for sharing!
This is really gorgeous. I love it and I can't believe how beautiful the iron on transfers are - they look hand painted on - I can't wait to try it - it would be great with a zoku popsicle maker - they make one now, in pretty colors, that make just one popsicle - great cottage gift - endless ideas - thanks Ez!!!!!
I love the popsicle garland. What a sweet treat for decorating this summer. :)
You are so talented. These are beyond cute. One could even fill the totes w/ supplies and recipes for making ice pops as a fun summer hostess gift. Thank you so much!
Ez, so great!!! Maybe I should change our ice cream party into a popsicle party!
Steph x
These are adorable! So fresh and light and summery! And I Love all the different uses you found for your images!
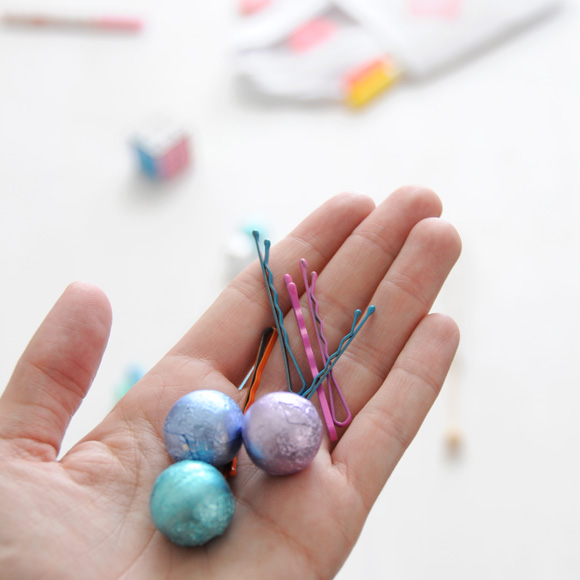
I stopped back by to check out the downloads since I had a bit more time today and just happened to notice your beautiful bobby pins! I actually did a tutorial recently on my blog on how to make these. I bet you also made your own since you are such a crafty girl. Great minds think alike. Your blue ones are really pretty. I might have to make some of those next. If you'd like to check out the ones I made, I'd love to have you drop by. You can see them here:
http://caughtonawhim.blogspot.com/2012/06/diy-bobby-pin-makeover.html
http://caughtonawhim.blogspot.com/2012/06/minted.html
Thanks for the popsicle downloads! :)
What a wonderful idea, I like it very much. I will definitely try to arrange something using this paper ice-creams. Lovely indeed*
You always amazing me with your wonderful DIY projects! These are super cute! Makes me want to host an ice cream party so I can make these baggies for party favors.
These are beautiful ideas and so timely, especially as hot as it's been - thank you! I look forward to sharing your post on All Things Paper.
Just came across these -- so dreamy and adorable!
very, very very nice.....