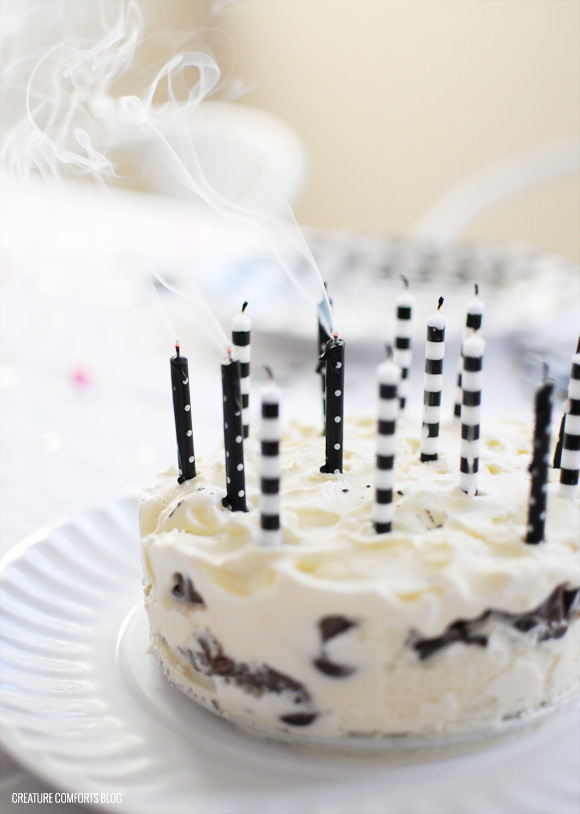
Hi friends! As some of you might have notice via my Instagram, yesterday was my daughter's 14th birthday (I can't believe I have a 14 year old...that is just craziness). In any case, I also posted a photo of the cake I made her. It was an experiment that went awesomely right, so I thought that I would share my recipe with you here today. I hope you'll enjoy it!

For one 6" round ice cream cake you will need:
- 6" springform pan - I purchased mine at Hobby Lobby, but I believe they sell them at Michael's and some grocery stores as well.
- 2-3 pints of Haagen-Dazs vanilla ice cream (I used two, but three pints would be better)
- 2 boxes of milk chocolate coated wafer cookies | I used gluten-free Glutino Milk Chocolate Coated Wafer Cookies but you can probably substitute a traditional variety if you prefer.
- Nutella - approximately 1/2 cup
- Sharp knife and cutting board
- Spoons
Step 1: Place ice cream on the counter to soften for a few minutes (you don't want it to be too soft or you'll have a soupy mess on your hands).
Step 2: Make sure your pan is clipped into the closed position with the bottom tray in place and then set it on top of a plate to catch any dripping ice cream while you work. Arrange a single layer of wafer cookies along the bottom of your pan. Since the pan is round they won't fit perfectly, but you can break off pieces from an additional cookie to fill in the gaps. Don't worry about getting it perfect.

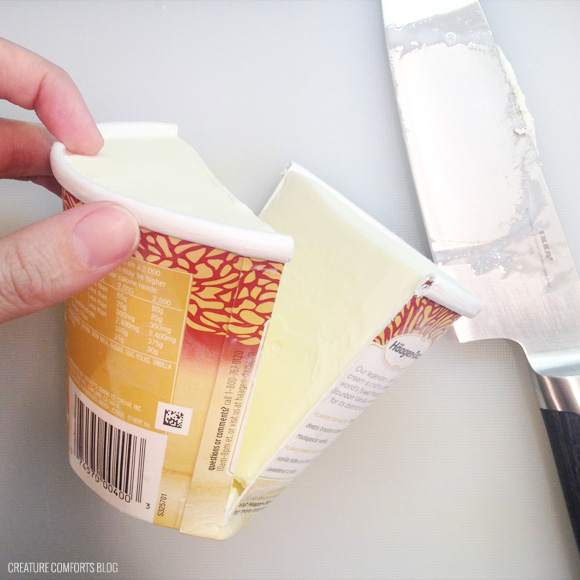
Step 3: You can scoop your ice cream with a spoon or for a faster and easier method: use a sharp knife to cut straight down through the center of your ice cream container. Next, cut 1/2 inch slices of ice cream from one side (they will be half-moon shaped). Arrange them into the pan on top of the cookie layer. Use a spoon to squish it into the cracks and smooth it in place. Base the amount of ice cream you use off the number of pints you will be using.
Step 4: Place a large dollop (around 1/4) of Nutella onto the center of the ice cream layer and use a spoon to spread it around so that it reaches approximately 1/2 inch from the outside edge. Remember...it doesn't need to be perfect. Resist the urge to use too much Nutella, or the layer will be hard to bite through later on.

Step 5: Now repeat the layering steps above: cookies, ice cream, and Nutella, cookies, ice cream, Nutella....and then finish with a final layer of ice cream. Make sure that each new cookie layer is placed in the opposite direction of the layer beneath it. So if the first layer is layered horizontally, the next one should be vertical (this makes the cake sturdier). A bit of ice cream may be leaking out the bottom of the pan at this point, but that's okay. Go ahead and place the whole thing (pan, plate, and cake) into the freezer and allow it to set. I let my set up overnight, but I'm sure you could leave it in for an hour or two and it would turn out great.
Remove from the freezer for several minutes before serving. Remove outer ring of springform pan. If the metal seam is frozen shut you can hold a warm dampened kitchen cloth on the seam to help it release. Transfer cake to a new plate or cake pedestal if desired (or pre-cut slices before serving...see note below). Enjoy!

Note: While incredibly delicious, this cake is a little bit tough to cut through in it's frozen state. As soon as it hits your mouth it begins to soften, so you're not going to break a tooth or anything like that. But before that it's a bit hard. Because of this it might be best to serve pre-cut slices (not use a delicate cake plate) and use metal forks to eat it (not flimsy plastic ones).