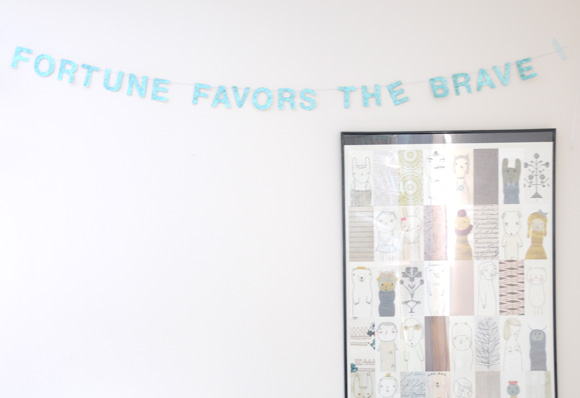
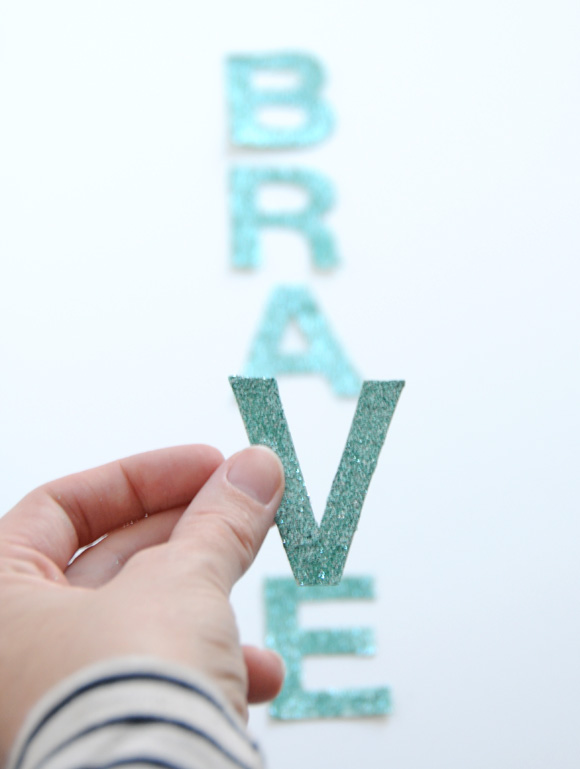
Hello sweets! This week really seems to be flying by...phew! After posting about this DIY I Love You Garland last week, I decided that I had to try out my own version and created a banner to hang above my desk using a saying that means a lot to me (thanks to Julie for inspiring me). I'm also midway through a hot pink version that says "You Are Beautiful" that I'll be hanging in my daughter's bedroom. What can I say...these little garlands are rather addicting to make!
For fun I thought I'd photograph a bit of the process and some details to share with you:
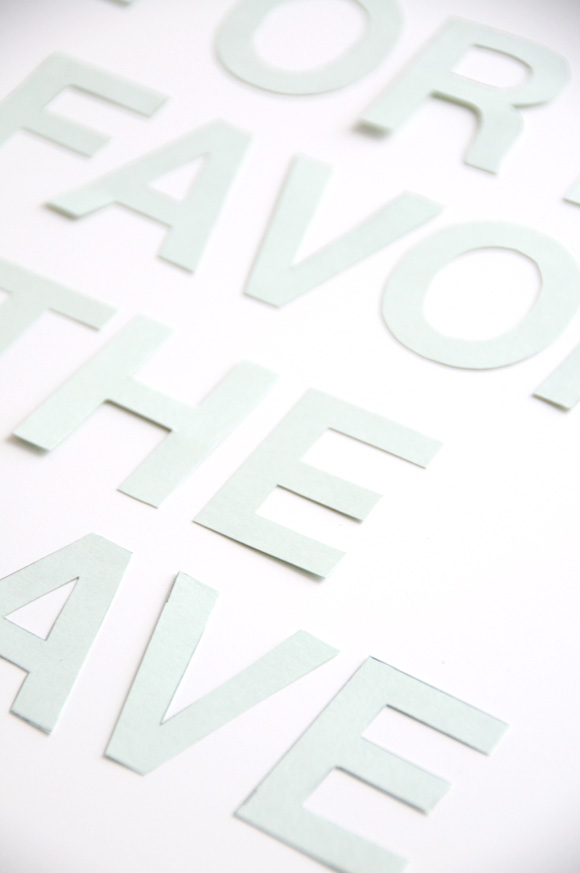
Here the letters are all cut out and ready for their glitter bath.
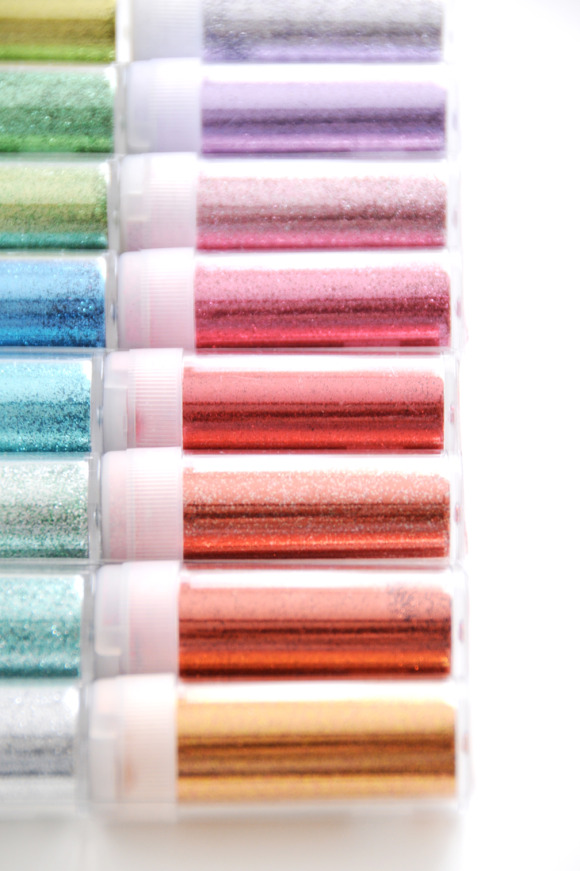
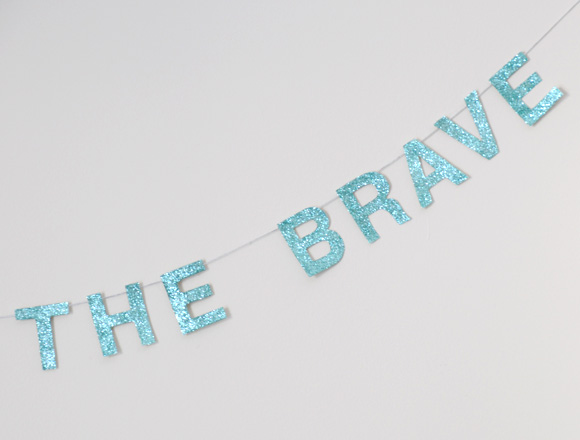
Deciding which color to use was no easy feat. I'm kind of wishing I had stuck with a silver or gold instead of aqua...but I still like the blue I went with.
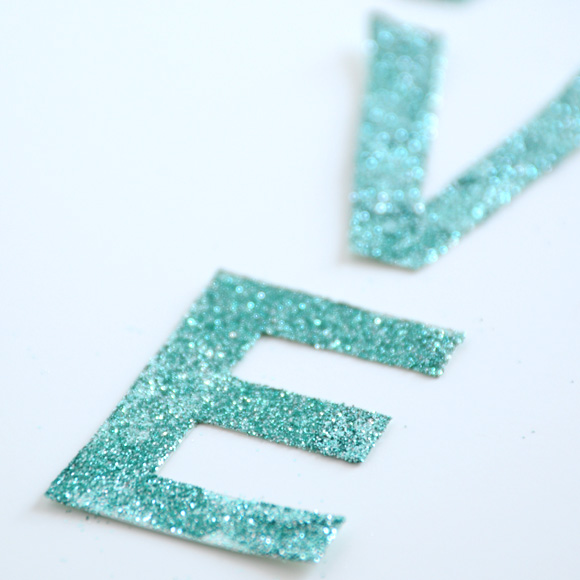
You can see that the glitter didn't want to stay put in some places. I just added a bit more glue and glitter and it was ready to go.
The newly glittered letters, all dried and ready to be strung.
By the way, I created my letters using 2" Helvetica stickers from the craft store (they were out of the actual stencils I was looking for). I first stuck each sticker to card stock so that it would be sturdy and not sticky, cut each letter out to create a template, traced the letter templates I needed onto my colored card stock and then cut out around the lines. If that sounds like a lot of work...it was! But now that I have my Helvetica templates I can use them for other projects...and more of these glitter garlands of course! xo Ez
Credits: Martha Stewart Glitter from Michael's Craft Store | Poster from Studio Violet