Hello lovelies and happy Friday!
I thought it would be fun to leave you all with another Valentine's Day freebie / project so that if you feel inspired, you will have time to make it for your special someone over the weekend.

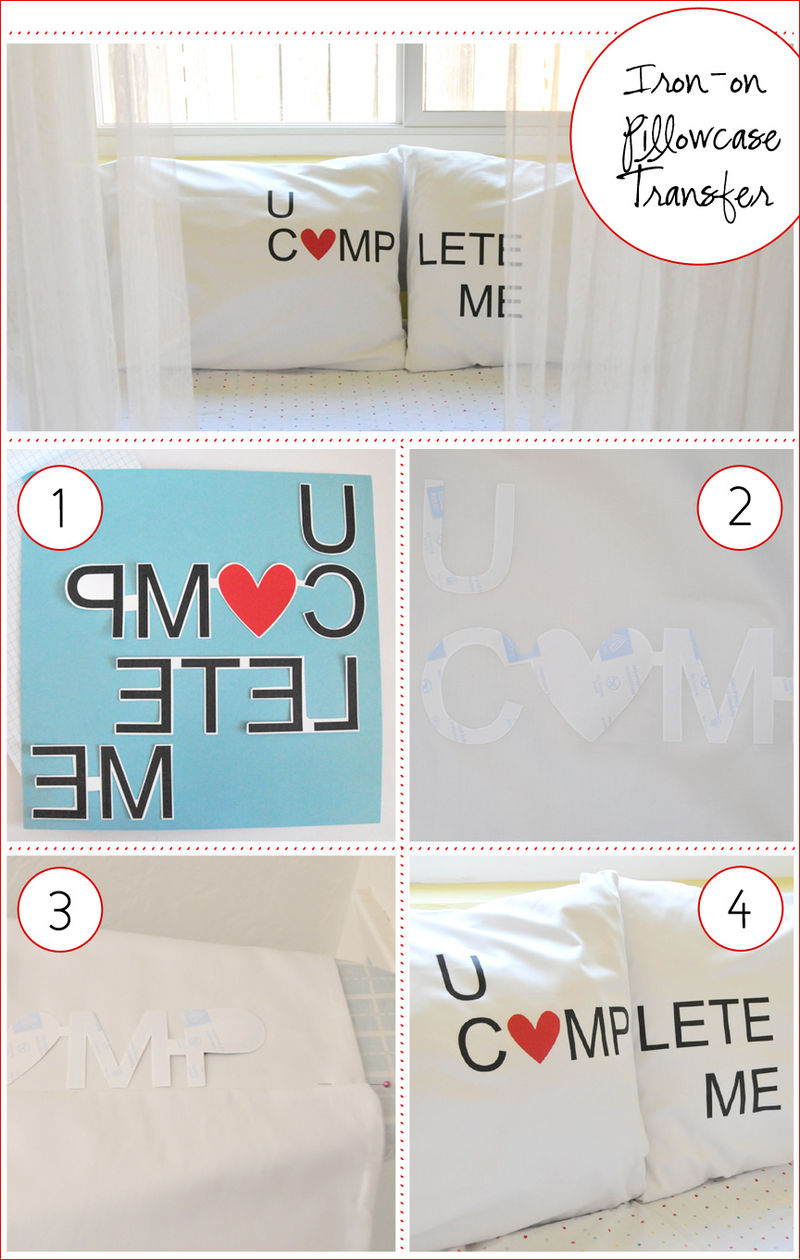
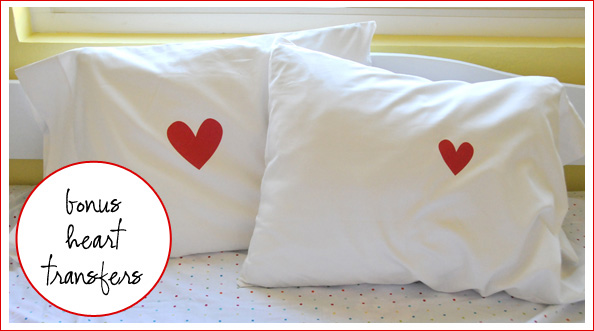
What is sweeter than loving words to rest your weary heads upon... especially when they spell out something as endearing as "U COMPLETE ME" when placed side by side. All you have to do is print the PDF file onto iron-on transfer paper and adhere them to your pillowcases. Two additional hearts (one large and one small) included with the text file can be ironed onto the reverse or onto anything else that you wish.
You will need:
- Two pillowcases (light colors will work best)
- Iron-on Transfer Paper for light colored fabrics. (tee-shirt transfer paper). Be sure that it is the correct type for your color printer. You will need two sheets.
- Color printer
- Scissors
- Iron (no steam)
How to:
Download Free Printable Valentine Iron-on Transfer
- Print the PDF onto transfer paper. Cut out carefully around the text, leaving the letters attached with a small amount of the transfer paper (see image one for how I did it). Be careful not to scratch the surface of your transfer paper while working. Note: the text will print backwards. It will read correctly when applied to your pillowcases.
- Lay your pillowcases out on a flat surface and line the words and letters up on your pillowcases with the paper-backing facing up (be sure that both sides of your text will line up to read correctly once the pillows are in use). To give yourself an easy guide for lining up the two sections of text simply fold pillowcases in half lengthwise and insert a pin to mark where the center is.
- A trick for ensuring that your text is straight before ironing, is to fold the lower half of your pillowcase up to the center (where you inserted the pin). The bottom edge is now a nice straight guideline for you to arrange your words along. I arranged my letters approximately 2 inches away from the outside edge so that when the pillowcase was stuffed the text would still be visible. Once everything is straight iron your text following directions for use found inside your iron-on transfer paper packaging.
- Allow design to cool for 2 minutes before carefully removing the paper backing. For optimum usability and softness, wash before use.

I had a lot of fun making this for you all and hope you will love it as much as I do. Have a wonderful weekend everyone! xox Ez